
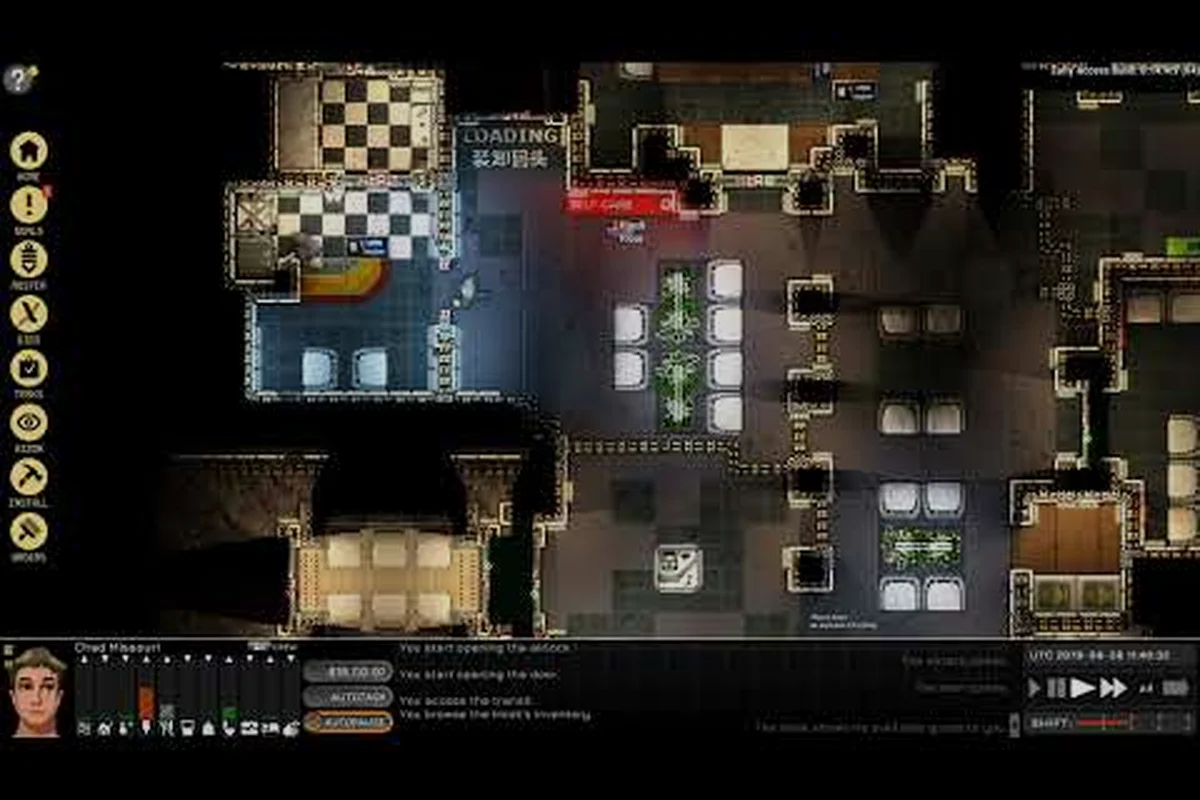
Ostranauts crew temperature management decides whether your NPCs walk off a long salvage shift or quietly freeze in an unpowered corridor. Mastering heat sources, insulation layers, and the comfort threshold is the single biggest factor in keeping a hired roster alive through the early game.
Why Crew Temperature Management Matters in Ostranauts
Temperature is one of the most punishing crew needs in Ostranauts because it can drop your NPCs into critical condition faster than hunger or fatigue. A pilot who skips a meal for a shift will grumble, but a crew member who spends a night in a cold cargo bay will start losing Health and Morale at the same time. Once morale tips into the danger zone, that NPC begins refusing orders, which means they will not run to the airlock controls when a hull breach happens.
The cost of a bad crew temperature management setup is not abstract. Community reports from the Steam discussions consistently list hypothermia as a top-three killer of NPCs during the first ten in-game days, right behind vacuum exposure and depressurization accidents. New players often assume the ship's default heater covers the whole interior, but most starter hulls only ship with one Environmental Heater that warms a small bubble around itself. The rest of the ship slowly drains toward the ambient space temperature, which sits well below freezing on the cold side of the map.
There is also a hidden multiplier in Ostranauts crew temperature management: wet NPCs lose heat much faster than dry ones. A crew member who splashes through a leaking pipe or steps into condensation on the deck will radiate heat away from their clothing layer, and the game does not flash a warning when this happens. Players who only check the temperature bar once a day will miss the slow drain that follows a leak. Treat temperature as a system you monitor every shift, not a problem you solve once and forget.
Understanding the Temperature Mechanics
Temperature States and Comfort Thresholds
Every NPC carries a hidden Core Temp value that the UI surfaces as a colored bar in the crew panel. The bar reads green when the crew member sits in their comfort range, yellow as they slip toward cold stress, and red when core temperature drops low enough to start damaging health. According to community data on the official Ostranauts wiki, the comfort threshold for a baseline human is roughly 18 to 24 in-game degrees, and the danger threshold begins around 5 degrees. EVA-rated suits shift the danger threshold lower because the suit provides its own insulation layer, but the suit still has to be powered and pressurized to do its job.
| Temperature State | Approximate Range | Crew Effect |
|---|---|---|
| Comfortable | 18 to 24 degrees | Normal morale, no health decay |
| Cool | 10 to 17 degrees | Slow morale loss, no health decay |
| Cold Stress | 0 to 9 degrees | Faster morale loss, minor health drain |
| Hypothermic | below 0 degrees | Health drains rapidly, NPC may pass out |
How Heat Moves Through the Ship
Heat in Ostranauts is not a magic aura, it is a resource that radiates from Powered Heaters and bleeds out through uninsulated walls, open hatches, and airlocks that have been cycled recently. This is why the airlock on the lower deck is a constant cold leak even when nobody is using it. Each time the inner door opens, the warm air from the habitable bubble spills into the lock and cools against the outer hull.
Insulation matters more than raw heater output. A wall panel that has been upgraded with Composite Plating holds heat noticeably longer than a bare hull, and the crew compartment doors in the starter ship are notoriously leaky. If you want a stable crew temperature management profile, seal every door between the heated bubble and the cargo areas, then only open those doors when a crew member is actively working in that section. This single change, reported by long-time players on the Discord, often stabilizes a new ship within a single shift.
Equipment for Crew Temperature Management
Active Heating and Cooling Systems
Active systems are the workhorses of crew temperature management in Ostranauts. Each system has to be Powered from the ship's main grid or a battery, so installing three heaters does not help if your reactor cannot supply the load. The table below compares the common options you will find in early salvage runs.
| System | Power Draw | Heat Output | Best Location |
|---|---|---|---|
| Environmental Heater | Low | Small bubble | Crew bunks, cockpit |
| Industrial Heater | Medium | Large bubble | Cargo bay, workshop |
| Radiator Panel | None | Removes heat | Engine room, kitchen |
| Suit Heater Module | Per-suit | Personal bubble | EVA lockers |
Players building toward a stable Ostranauts crew temperature management setup usually install two environmental heaters (one near the bunks, one near the mess) and one industrial heater in the workshop. The kitchen also produces passive heat while the stove runs, which is a free bonus during long meal prep sessions. Do not forget the Radiator Panel: it pulls heat out of the room, which is wonderful in an overheated engine room but a disaster in a cold cargo bay. Place radiators only where you actively want cooling.
Clothing and Insulation Layers
Clothing is the second pillar of temperature control and the easiest to overlook. NPCs automatically equip whatever is in their locker, but they will not layer items for you. A crew member wearing only a jumpsuit in a 5-degree corridor is heading toward hypothermia, while the same NPC in a Vac Suit with the heater module online is fine for hours. The order of layering also matters: a shirt plus jacket combo holds heat better than a jacket alone because it traps air between the two fabric layers.
For tight crew temperature management, audit each locker once per in-game week. Make sure every NPC who lives in the cold cargo section owns at least one insulated jacket and a pair of long underwear. The underwear item is small and cheap at most K-Leg vendors, and it quietly reduces heat loss by a noticeable percentage. If you want to see how this fits into the larger picture, the broader crew management overview covers locker audits alongside morale and shift scheduling.
Temperature Management Strategies by Scenario
Cold Start Salvage Runs
The first hour after you dock a fresh wreck is the coldest period of any salvage run. Power from the wreck is unreliable, the heaters have been off for who knows how long, and your NPCs often arrive in their standard jumpsuits. The fastest way to recover the temperature window is to drop a portable Field Heater in the main salvage corridor and run power from your ship via the umbilical before anyone enters. Community testing suggests this approach can raise the corridor from 2 degrees to 15 degrees within twenty in-game minutes, which is enough to keep your crew in the yellow zone instead of the red.
If you are running low on portable heaters, send your best-insulated NPC in first to scout, then bring the rest of the crew in once the corridor stabilizes. Avoid the temptation to rush everyone aboard at once: a stack of cold NPCs in a tight space radiate heat into each other and lower the room temperature even further, a feedback loop that new players often mistake for a broken heater.
EVA and External Operations
EVA is where Ostranauts crew temperature management gets brutal. The vacuum of space will pull heat out of an uninsulated suit in minutes, and a punctured or under-pressurized suit cuts that survival time dramatically. Before any EVA, check three things: suit battery charge, suit heater module status, and inner-layer clothing. Skipping any one of those three steps turns a routine hull patch into a corpse recovery.
Plan EVAs in short rotations of three to five minutes each. Bring the NPC back inside, swap or recharge their suit battery, and let them warm up near the airlock heater for at least ten minutes before sending them out again. Players who ignore this cycle lose suit-equipped crew members to "sudden" hypothermia that was actually building across three long EVAs. The crew needs system guide explains how this rotation interacts with fatigue and morale, since a cold NPC will not cooperate on the next EVA.
Troubleshooting Common Temperature Failures
When your crew temperature management routine breaks, the failure usually has one of three root causes. Use the table below to triage quickly, then walk down the diagnostic list before you start swapping equipment.
| Symptom | Likely Cause | First Fix |
|---|---|---|
| Whole ship slowly cools | Reactor throttled by fuel shortage | Refuel or shed non-critical loads |
| One room stays cold | Heater unpowered or door left open | Check power line, close the inner door |
| One NPC keeps freezing | Missing insulation layers | Audit their locker, add jacket and long underwear |
| Kitchen overheats | Stove running with no radiator nearby | Add a radiator or open a vent hatch |
If the symptom does not match any row above, run a power audit next. A heater that shows the "On" light but produces no heat is almost always downstream of a tripped breaker or a drained battery. Walk the power chain from the reactor to the heater in the schematic view, and you will usually find the bad link within a minute. For deeper crew-side issues like a single NPC who refuses to eat or drink and is therefore losing the calorie buffer that helps them survive cold, the crew food, water, and oxygen guide has the diagnostic flowcharts.
A final note for new players: do not confuse a temperature warning with a morale warning. They show up in the same panel and use similar colors, but they require different responses. A morale fix is conversation and privacy; a temperature fix is insulation and power. Mixing up the two is one of the most common reasons new captains lose crew members in the first week.
Frequently Asked Questions
What is the fastest way to warm a cold ship in Ostranauts?
Drop a portable Field Heater in the largest crew area, then route power to it from the ship's main grid before anyone boards. According to community data, this raises the ambient temperature by roughly one in-game degree per minute and stabilizes the crew temperature management baseline within twenty minutes. Sealing inner doors keeps the heat where you want it.
Do NPCs automatically wear warm clothing when it is cold?
No. NPCs will equip whatever sits on top of their locker, but they will not layer items automatically and they will not switch into a Vac Suit unless you tell them to. A solid crew temperature management routine includes a weekly locker audit so every NPC has at least an insulated jacket, long underwear, and a powered suit available for cold sections.
Can a crew member die from cold while wearing a Vac Suit?
Yes, if the suit battery dies, the heater module is missing, or the suit is punctured. Even a fully functional suit loses heat over time during long EVAs, which is why experienced players rotate crew in three to five minute bursts. Always check suit power and heater status before sending an NPC outside, and never assume a green suit icon means the suit is actually warm.
Does the kitchen stove help with crew temperature management?
Yes, the stove and the oven both radiate passive heat into the mess area while they run. Plan hot meals during the coldest shifts, and you will get a small free boost on top of your dedicated heaters. Do not rely on the kitchen alone, because the heat output is modest and disappears the moment the stove shuts off.
Where should I place my first Industrial Heater?
Put it in the workshop or the cargo bay, whichever your crew uses most. The industrial heater covers a much larger bubble than the standard Environmental Heater, so a single unit can warm an entire work section if you seal the doors. Avoid placing it next to the reactor room, because the combined heat output will push the engine space into the overheating range and force you to add a Radiator Panel to compensate.
What temperature trick has saved the most of your crew so far, and which room on your ship is the worst cold offender? Drop your setups in the comments and compare notes with other captains who are tuning their Ostranauts crew temperature management the hard way.