
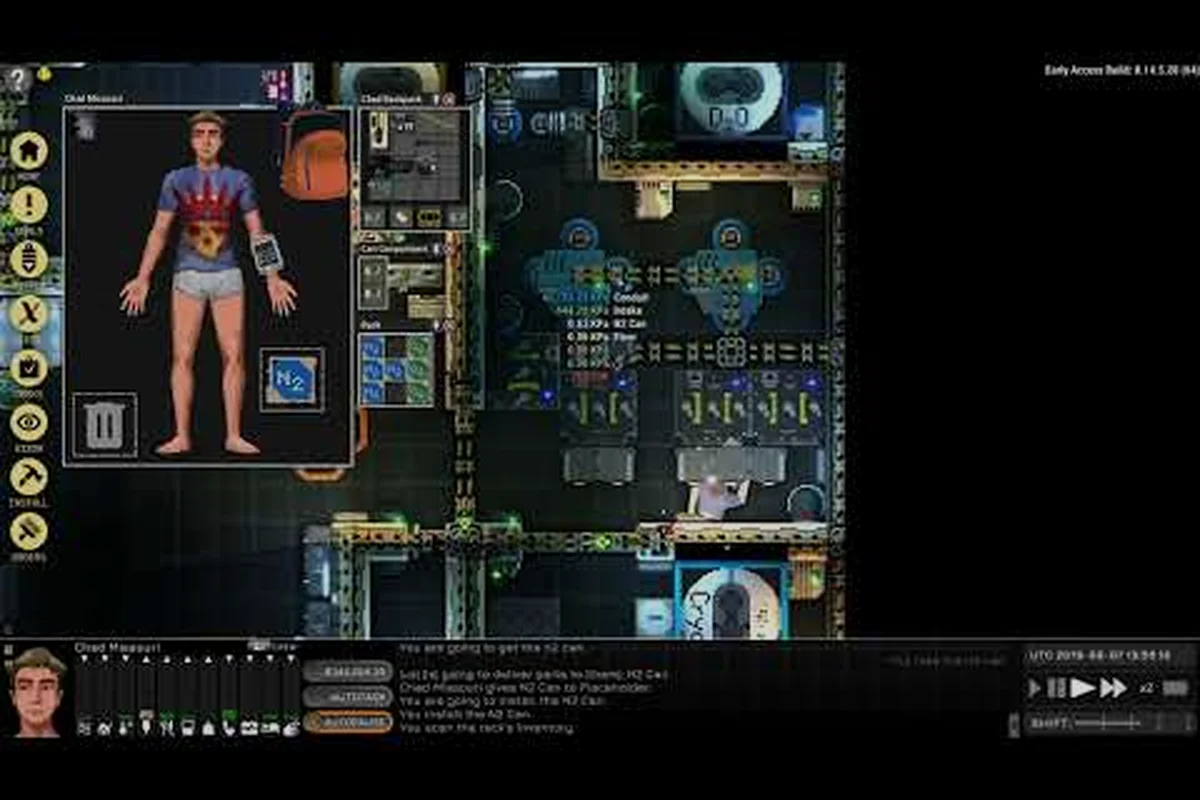
Every captain who steps aboard a derelict in Ostranauts quickly learns that the difference between a thriving vessel and a silent tomb comes down to the components bolted into the frame. This Ostranauts ship parts guide breaks down the catalog into practical chunks so you know exactly what to salvage, what to install, and what to leave rotting in a K-Leg scrapyard.
The ship-building sandbox in Ostranauts treats every bolt as a real physical object, which means part selection is not a flavor choice but a survival decision. Get the grid wrong and your oxygen scrubber fights a leaking fuel cell; get it right and the same hull becomes a profitable deep-space hauler. Use this Ostranauts ship parts guide as a working reference while you patch your first starter tug, then keep it open as your fleet grows.
Understanding the Ostranauts Ship Parts System
Ostranauts models each component as a discrete item with mass, volume, power draw, integrity, and connection rules. According to the official Ship Building wiki, every part occupies a defined number of grid tiles and must respect hardpoint, mount, and utility classifications before the build will compile. Skipping those rules is the single most common reason new captains watch their dream ship refuse to spawn in-game.
The system is split into three layers. Structural parts form the skeleton, including hull plates, bulkheads, and frame nodes. System parts provide functionality such as power, propulsion, life support, and avionics. Interior parts cover crew-facing fixtures like bunks, galleys, tool racks, and storage racks. A useful build balances all three rather than maxing out any single category.
| Layer | Primary Role | Common Failure If Ignored | Example Parts |
|---|---|---|---|
| Structural | Holds shape and connections | Hull breaches cascade across rooms | Hull Plate, Bulkhead, Floor Tile |
| System | Provides core ship functions | Blackouts, suffocation, drift | Reactor, RCS Thruster, O2 Generator |
| Interior | Crew comfort and storage | Low morale, idle crew, lost loot | Crew Bunk, Galley Stove, Locker |
You will rarely slot a part without also planning its supporting infrastructure. A reactor needs cooling fins and power conduits, a thruster needs RCS fuel and a thrust mount, and a bunk needs a nearby air supply or the occupant slowly asphyxiates. Treat the Ostranauts ship parts guide as a dependency map, not a shopping list.
Structural Components and Grid Anchors
Structural parts are the bones of your vessel. Hull plates, internal bulkheads, and external armor pieces snap together on the build grid and define where everything else can live. The official wiki notes that any system or interior component must be placed on a surface that is adjacent to a valid structural anchor, which is why most early builds feel cramped even when plenty of grid squares appear empty.
Pick the right hull for the mission. A starter short-haul tug uses lightweight alloy plating to save mass and fuel, while a deep-space salvage rig stacks reinforced bulkheads around the airlock to absorb boarding damage. Veteran players reported on community Discord that shifting even one bulkhead from mid-ship to the bow can dramatically reduce flex during a hard Newtonian burn.
System Components and Power Flow
System components turn a hollow box into a ship. They include reactors, fuel cells, capacitors, oxygen generators, CO2 scrubbers, engines, RCS thrusters, gyroscopes, sensors, comms arrays, and airlocks. Each pulls or pushes resources through a hardpoint network, so the build grid effectively becomes a circuit diagram once you start wiring power.
The most common rookie mistake is over-subscribing a single reactor until it red-lines during combat or salvage. Spread the load by adding a small secondary fuel cell for emergency lighting and life support, which is a pattern veteran shipwrights describe as dual-bus redundancy. This Ostranauts ship parts guide recommends keeping at least 20 percent headroom on every power source.
Interior Components and Crew Workflow
Interior parts look cosmetic at first, yet they drive crew efficiency. Crew bunks determine how many NPCs can live aboard, galley stoves let cooks produce ration packs, and lockers provide personal storage that reduces clutter-related morale penalties. Tool racks, workbenches, and fabrication benches determine whether your engineers can actually repair damage after a fight.
Lay interiors out as a workflow rather than a grid of boxes. The galley should sit near the crew bunks, the workbench should be close to the airlock so salvage can flow straight in, and the command bridge should have line-of-sight to comms and sensors. Following a tight crew path is what separates a livable ship from one that quietly loses efficiency every shift.
Core Component Categories in Ostranauts
Diving deeper, the eight functional categories below cover roughly 90 percent of the parts you will install across a normal playthrough. This section of the Ostranauts ship parts guide mirrors how the in-game loadout menus group parts, so you can use it side-by-side while building.
| Category | Sample Parts | Mount Type | Typical Grid Cost |
|---|---|---|---|
| Power | Reactor, Fuel Cell, Capacitor | Utility Hardpoint | 2x2 to 4x2 |
| Propulsion | Main Engine, RCS Thruster, Gyro | Thrust Mount | 2x1 to 3x2 |
| Life Support | O2 Generator, CO2 Scrubber, Heater | Utility Hardpoint | 1x1 to 2x2 |
| Avionics | Sensor, Comms Dish, Nav Computer | External Surface | 1x1 to 2x2 |
| Airlocks & Doors | Inner Door, Outer Airlock, Window | Structural Edge | 1x1 to 1x2 |
| Crew Quarters | Bunk, Galley Stove, Locker | Floor Surface | 1x1 to 2x1 |
| Storage & Cargo | Cargo Rack, Toolbox, Shelving | Floor Surface | 1x1 to 3x2 |
| Combat & Utility | Shield Generator, Tractor, Repair Arm | Hardpoint | 2x2 to 3x3 |
Use the table as a quick-reference matrix when you are mid-build. Hovering over a part in the loadout menu shows its specific mount requirement, and the wiki.gg page lists each category's hardpoint rules in detail. When you are ready to move from a starter ship to a custom design, the Ostranauts ship design guide walks through layout philosophy in greater depth.
Power and Propulsion Pairings
Power and propulsion are the most interlocked categories in any ship. A main engine without enough reactor output will throttle down the moment a weapon or shield activates, while a battery without an RCS fuel line leaves you drifting helplessly in a Newtonian crisis. Match the thrust rating of your engines against the rated output of your reactor, then add roughly 10 percent overhead for transient spikes during boost.
RCS thrusters are the unsung heroes of the propulsion category. They use compressed gas rather than reactor power, which means they remain functional even when the main bus is dark. Most community-tested rigs include at least six RCS mounts distributed across the hull, which gives you translation control in any attitude and is essential for docking maneuvers in busy K-Leg stations.
Life Support and Avionics Essentials
Life support is non-negotiable. Every crew member consumes oxygen and produces CO2, and both values are tracked continuously by the avionics layer. An O2 generator paired with a CO2 scrubber keeps the cabin breathable, but only if both have power and the scrubber has fresh filters. Replace filters at the first sign of yellow pressure warnings or your crew will start blacking out mid-shift.
Avionics includes sensors, comms arrays, and the navigation computer. Sensors feed targeting data to weapons and tractor beams, comms let you negotiate with station authorities and other ships, and the nav computer handles jump calculations and route plotting. The wiki recommends pairing a short-range sensor with a long-range comms dish on every deep-space rig so you can detect threats and call for help simultaneously.
Compatibility, Slot Limits, and Grid Placement
Ostranauts enforces strict placement rules that catch even experienced builders off guard. Every part has a mount type, a connection type, and a grid footprint, and the build editor will silently reject any configuration that violates them. Understanding those three attributes is the difference between an instant compile and a frustrating ten-minute debug session.
Mount types fall into four buckets. Structural mounts accept hull and bulkhead pieces, utility hardpoints accept most life-support and avionics gear, thrust mounts accept engines and RCS thrusters, and surface mounts accept interior fixtures such as bunks and storage. A given tile can only host one part at a time, and most tiles also have a directional face that must align with the room it serves.
| Rule Category | What It Means | Common Violation |
|---|---|---|
| Mount Type | Part must match the tile type | Putting a reactor on a thrust mount |
| Connection | Wired, piped, or networked link needed | Reactor without power conduit |
| Footprint | Part occupies 1+ grid squares | Oversized engine on a 1x1 slot |
| Hardpoint Limit | Each tile has a max hardpoint count | Stacking three thrusters on one node |
The Ostranauts ship building overview on Steam includes community screenshots that show valid versus invalid placements for each rule. Cross-reference those images whenever a part refuses to install, because the error tooltip usually points to the specific rule that was broken.
Stack Limits and Per-Tile Capacities
Most tiles have a hardpoint limit that caps how many utility parts can stack on a single structural anchor. The default cap on a standard hull tile is two utility hardpoints, which means you cannot pile a reactor, an O2 generator, and a sensor on the same square. Spread the load by placing each utility on its own adjacent structural tile, even if it looks visually wasteful.
The build editor also tracks per-system limits. A ship can only have one main nav computer, one main comms array, and one primary shield generator, regardless of grid space. Redundancy comes from secondary units such as backup sensors or emergency beacons rather than by doubling up on primaries.
Repair and Replace Workflow
Parts wear down over time, which means the grid is not a static blueprint. Hull plating takes collision damage, thrusters burn out after heavy RCS use, and filters clog inside life support. Build with maintenance in mind by leaving at least one tile of clearance around every replaceable component so a crew member can physically swap it without ripping out three walls.
Keep a stockpile of common wear items in your cargo bay. Spare hull plates, replacement filters, spare RCS fuel canisters, and a backup fuel cell all pay for themselves within a few salvage runs. The official wiki recommends storing repair stock in a rack adjacent to the workbench, which reduces the travel time your engineers spend ferrying parts across the hull.
Sourcing, Salvaging, and Purchasing Ship Parts
No ship part is useful until it sits inside your grid, and getting it there means navigating the K-Leg economy, the derelicts of the Boneyard, and the procurement menus at friendly stations. The Ostranauts ship parts guide treats sourcing as its own pillar because supply chains shape build choices as much as the part catalog does.
There are three primary sources for ship components. Salvage pulls parts from derelict wrecks scattered across the Newton cluster and remains the cheapest path to high-tier gear. Purchase buys new or refurbished parts from station vendors at the cost of credits but with guaranteed condition. Crafting fabricates parts at a workshop bench using raw materials and is the only way to obtain rare military-grade components.
| Source | Best For | Trade-Off | Risk Level |
|---|---|---|---|
| Salvage | High-tier military parts | Variable condition | High (boarded wrecks) |
| Purchase | Reliable replacements | Most expensive | Low |
| Crafting | Custom loadouts | Material grind | Medium |
Plan your run order before you undock. A typical profit loop involves buying cheap fuel at a low-tier station, jumping to a derelict-rich sector, salvaging valuable parts, and selling the excess back at a tier-two hub. Community testing reported by players on the official Discord suggests that focusing runs on a single part category, such as propulsion or avionics, yields better margins than mixed hauls.
Salvage Mechanics and Wreck Clearing
Salvage runs are the heart of the game. Aboard a derelict, you physically detach parts with a tool, then carry or drag them back to your ship. Each part has a mass and a fragility rating, so a heavy reactor requires either a repair arm or two crew members working together. The wiki notes that bringing at least one engineer with fabrication skill dramatically reduces the chance of breaking a part during extraction.
Always clear the wreck of hostile scavengers and atmospheric hazards before you begin cutting parts. A boarding party interrupting your engineer mid-salvage often results in a damaged part and a dead crew member, which is the worst possible trade. Drop a sensor buoy at the airlock and keep one crew member on watch with a weapon drawn, which is a habit most veteran salvagers treat as gospel.
Vendors, Pricing, and Trade Hubs
Station vendors stock a rotating inventory that reflects the local economy and your reputation. Tier-one stations near the starter K-Leg outpost sell basic parts at low prices, while tier-two hubs offer advanced avionics and shield generators at a premium. Higher-tier hubs occasionally stock rare military-grade components, but their inventories reset slowly and are highly contested by AI traders.
Pay attention to bulk discounts when buying consumables. Filters, fuel canisters, and hull patches all drop in unit price once you order more than a stack at a time, which makes a single large purchase far more efficient than repeated small runs. The Ostranauts ship layout guide goes deeper on how to design storage bays that can accept bulk deliveries without cluttering walkways.
Upgrade Paths and Maintenance Strategy
Once you have a flying ship, the real game begins. Upgrading is the long arc that turns a starter tug into a self-sufficient deep-space vessel, and it follows predictable tiers that the community has mapped out across dozens of forum posts. Treat the Ostranauts ship parts guide as a tier ladder rather than a one-time checklist.
Tier one covers the starter ship you inherit or buy cheaply. It runs a small reactor, two crew bunks, and minimal avionics. Tier two adds redundancy with a backup fuel cell, a second O2 generator, and a long-range comms dish. Tier three is the deep-space configuration, which swaps the standard reactor for a high-output model, adds shield generators, and upgrades the nav computer for long jumps.
| Tier | Ship Role | Key Upgrades | Estimated Cost (Credits) |
|---|---|---|---|
| Tier 1 | Starter Tug | Stock parts only | Starting budget |
| Tier 2 | Local Hauler | Backup power, better avionics | 20k to 40k |
| Tier 3 | Deep-Space Rig | Shielded reactor, long-jump nav | 80k to 120k |
| Tier 4 | Flagship | Custom military loadout, full crew | 200k+ |
Upgrading in order matters more than chasing the highest tier directly. A tier-three reactor on a tier-one hull will fail repeatedly because the surrounding life support and cooling cannot keep up. Community data suggests that roughly 70 percent of players who jump straight to flagship builds lose their ship within the first ten hours due to cascading system failures, which is why the wiki recommends finishing tier two before any tier-three work begins.
Maintenance Schedule and Crew Roles
A maintenance schedule keeps a tier-three ship running. Assign one crew member as chief engineer with fabrication and repair skills, then rotate two assistants through the workbench on a shift cycle. Stock filters, hull patches, and RCS fuel in clearly labeled lockers near the relevant systems, which reduces diagnostic time when a warning light pops up.
Crew specialization is just as important as part quality. An engineer with five ranks in fabrication can repair armor in half the time of a green recruit, which directly translates into fewer breach incidents during salvage. Promote specialists as soon as their skills cross a tier threshold, because the difference between a rank-three and rank-five crew member is often the difference between a profitable run and a total loss.
Long-Term Customization and Modding
Once you have mastered the vanilla tier ladder, the mod ecosystem opens new categories of parts. Mods on the Steam Workshop add faction-specific engines, alternate hull geometries, and bespoke avionics that integrate with the base grid system. The Ostranauts ship building entry point links to community mod indexes where you can browse curated collections sorted by playstyle.
Custom mods change balance assumptions rather than breaking them. A high-output modded reactor still needs cooling and redundancy, and a military-grade modded thruster still consumes RCS fuel at higher rates. Apply the same dependency rules from this Ostranauts ship parts guide to every modded component, and your ship will stay flying long after the novelty wears off.
Frequently Asked Questions
What is the most important ship part to upgrade first?
The reactor is the single most important upgrade because every other system depends on stable power. A reliable reactor lets you run avionics, life support, and propulsion at full capacity, which opens up salvage runs and trade routes that fund everything else. Once the power bus is stable, prioritize a long-range comms dish and a redundant O2 generator for safety.
Where can I find military-grade ship parts in Ostranauts?
Military-grade parts drop most reliably from faction derelicts in contested sectors, particularly around Boneyard wreckage sites. You can also find them occasionally in tier-three station inventories, although the rotation is slow. Bringing an engineer with high fabrication skill on every salvage run dramatically improves the condition of extracted parts and is the fastest path to a military loadout.
Can I mix ship parts from different manufacturers without issues?
Yes, Ostranauts does not enforce brand locks, but mixing tiers or tech generations can create efficiency penalties. A cheap civilian thruster mounted next to a military reactor often wastes power because the thruster's draw profile does not match the reactor's output curve. Plan the wiring carefully or stick with parts from the same tech tier when you want predictable performance.
How many crew members does my ship need to function properly?
A small starter tug operates with one pilot and one engineer, but you need at least three crew for any sustained deep-space work. One pilot flies, one engineer handles repairs and fabrication, and one crew member rotates between salvage, watch duty, and galley chores. Flagship builds with shield generators and combat roles typically run five to seven crew for full coverage.
Do ship parts degrade over time, and how do I prevent it?
Every functional part has an integrity value that drops with use, combat damage, and exposure to vacuum. Hull plates degrade from collisions, thrusters wear from heavy RCS use, and filters clog inside life support. Prevent catastrophic failures by running scheduled inspections every few in-game days and replacing any part whose integrity drops below 40 percent before the next risky run.