
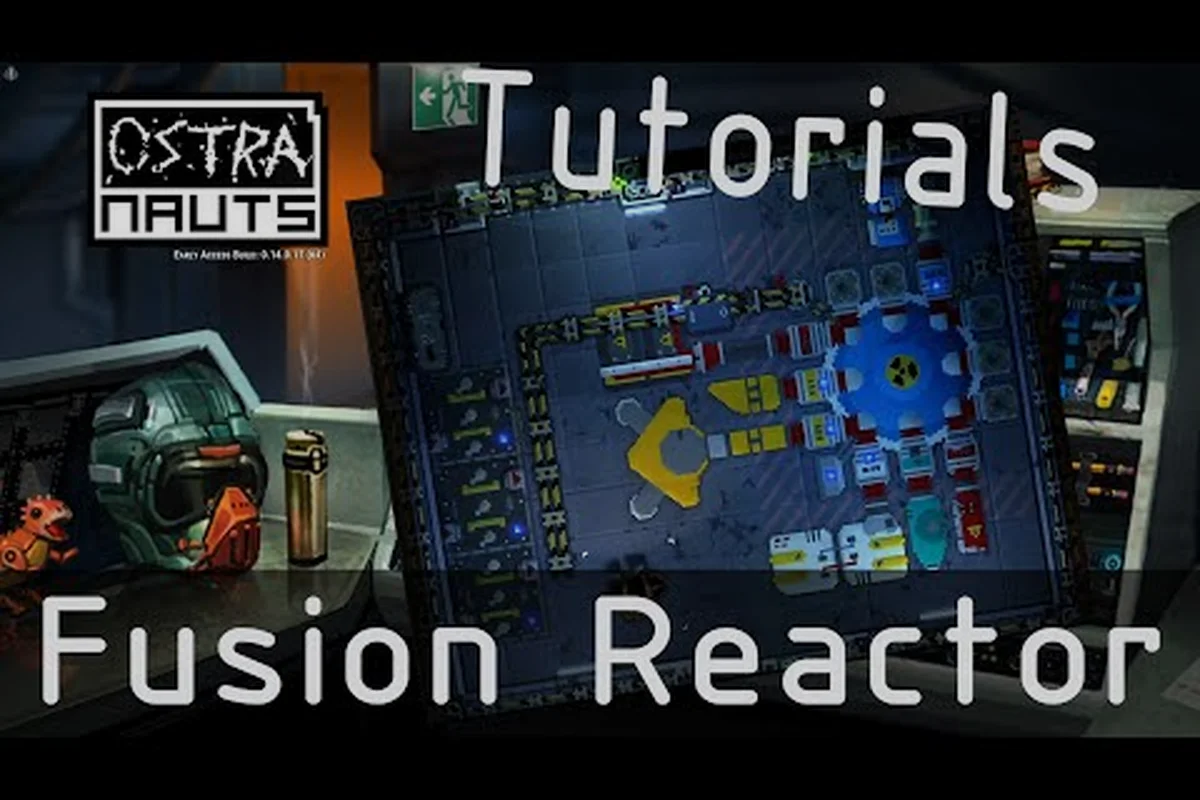
Understanding Ostranauts Fusion Reactor Parts: A Shipbuilder's Primer
If your ship keeps losing power mid-jump, the problem almost always traces back to your reactor setup. Ostranauts fusion reactor parts form the beating heart of any serious spacecraft, and choosing the right combination of core, coolant, and control modules decides whether you finish a salvage run or strand yourself in the dark. This guide breaks down what each component does, which brands deliver the best return on credits, and how experienced captains wire everything together for stable long-haul cruising. For a broader look at every hardware slot on your vessel, the Ostranauts ship parts guide walks through the full catalogue of compatible parts.
Why the Reactor Matters So Much
The reactor is the single most expensive subsystem on most derelict-recovery hulls because it feeds the thrusters, life-support scrubbers, sensors, and every powered tool the crew touches. Underpower your ship and the oxygen scrubbers stall first, then comms go dark, then the captain starts hearing complaints about cold coffee in the mess hall. Choose the wrong brand and you will burn through fusion fuel faster, generate more waste heat than your sinks can bleed off, or watch the whole core crack after three weeks of real-time wear. Every player who survives their first month in the Belt eventually circles back to their reactor choice and rebuilds it, because the starter loadout is rarely tuned for the work you actually end up doing.
Core Components of Ostranauts Fusion Reactor Parts
Every working reactor in the game is built from the same five physical pieces, and swapping any one of them changes the ship's electrical profile in measurable ways. Below is how each slot in the Ostranauts fusion reactor parts inventory breaks down, what it does, and what happens when it fails.
Reactor Core Unit
The reactor core is the bolted-down housing that holds the plasma containment vessel, and it defines the maximum sustained output your ship can deliver, measured in kilowatts. Light cores fit small starter haulers and produce just enough juice to keep the cabin lights and one thruster running, while heavy cores power industrial rigs with multiple thrusters, active sensor arrays, and crewed tool lockers. Brand choice here matters more than anywhere else in the system, because the core sets the baseline efficiency curve and determines how much waste heat you must manage downstream.
Coolant Loops and Heat Sinks
Heat is the silent killer of every Ostranauts fusion reactor parts build, and the coolant loop is what keeps the core from cooking itself. The loop circulates fluid between the reactor housing and the heat sinks mounted on the outer hull, and the sinks themselves are what actually radiate the waste heat into vacuum. Bigger sinks handle bigger thermal loads but add weight, drag, and cost to the build. Players who skip this layer tend to see their cores throttle down within an hour of ignition, especially when running a torch drive or a high-draw salvage laser at the same time as routine ship systems.
Control Modules and Interface Plates
The control module is the brain that talks to the rest of the ship, and the interface plate is the connector that lets you swap brands without rewiring the entire console. Cheap modules flicker under load, lose calibration after a few dozen cycles, and occasionally misreport output to the captain's display panel. Expensive modules hold tighter tolerances longer and reduce the chance of a brownout when a thruster spools up suddenly during an avoidance burn.
| Component | Primary Role | Failure Mode | Replace Often? |
|---|---|---|---|
| Reactor Core | Sustained power generation | Plasma leak, cracked housing | No (repair only) |
| Coolant Loop | Heat transfer between core and sinks | Pump clog, micro-fracture | Yes (every 200–400 cycles) |
| Heat Sink | Radiates waste heat to vacuum | Coating degradation | Yes (when temp climbs) |
| Control Module | Power regulation, telemetry | Calibration drift | No (rare) |
| Interface Plate | Brand-agnostic wiring connector | Pin corrosion | Yes (every 300 cycles) |
Reactor Brands and Performance Comparison
Ostranauts ships use five major reactor manufacturers, each with a distinct personality and trade-off curve. Picking between them is the single biggest decision in any Ostranauts fusion reactor parts build, and community testing has ranked them pretty consistently across the last several patches. For a deeper dive into power-management strategy and loadout math, the Ostranauts reactor guide walks through the long-form numbers.
Brand Tier Rankings
Gott and Bingham sit at the top of most veterans' lists because they combine respectable output with manageable heat curves, which means less babysitting during long transits. Horang is the budget pick for early-game scrappers who need to keep the lights on without spending a full haul's profit, Weber specializes in high-output industrial cores for the heaviest hulls, and Halvorson is the niche choice for engineers who want fine-grained thermal control. Brand modifiers stack with crew engineering skill, so a skilled engineer can squeeze noticeably more performance out of any of them, especially when paired with a matching coolant loop.
| Brand | Tier | Peak Output | Heat per kW | Best Use Case |
|---|---|---|---|---|
| Gott | S | 95 kW | 0.9 | Balanced cruising, mixed roles |
| Bingham | S | 90 kW | 0.85 | Long-haul reliability |
| Weber | A | 110 kW | 1.2 | Industrial salvage, heavy thrusters |
| Halvorson | A | 80 kW | 0.7 | Precision work, low-heat ops |
| Horang | B | 70 kW | 1.1 | Starter ships, tight budgets |
Weight vs Output Trade-offs
Every additional kilowatt of peak output costs you mass and interior volume, and Weber cores illustrate the trade-off clearly. A Weber housing pushes the highest absolute ceiling on the market but weighs roughly 30% more than a comparable Gott core, which forces heavier thrust requirements and reduces available cargo space. Bingham holds the efficiency crown at the cost of a slightly lower peak ceiling, while Halvorson sacrifices outright output for thermal stability, which is invaluable on covert runs where a hot signature gives away your position to rival salvagers.
Power Output, Heat Management, and Maintenance
Understanding the relationship between power, heat, and wear is what separates a journeyman captain from a seasoned Belt veteran. Ostranauts fusion reactor parts all degrade over time, and the rate of degradation depends entirely on how hard you push them and how disciplined you are about staying inside the safe operating range.
Heat Threshold Behavior
Reactor cores in Ostranauts have three operating zones, and the on-screen telemetry shows you which one you are currently sitting in. The green zone is the safe operating range where everything runs as advertised and wear accumulates at the documented rate. The amber zone means the core is throttling output to protect itself, and components wear roughly twice as fast. The red zone triggers an automatic shutdown if you don't manually intervene within a few seconds, which leaves your ship drifting until the control module resets. Skilled crews keep their cores pinned in green by upgrading the heat-sink array and keeping the coolant loop well-stocked with fresh fluid.
Wear and Replacement Cycles
Most parts have a service life measured in cycles, where one cycle equals roughly one in-game day of operation under nominal load. Heat sinks wear fastest because the radiator coating burns off under sustained thermal load, and you will feel the loss long before the telemetry admits it. Coolant loops survive longer but eventually clog with micro-particulates, especially after exposure to derelict dust and unfiltered intake. The control module and core are the durable pieces, lasting thousands of cycles if you don't push them into the red zone, which is why most captains treat the core as a long-term investment.
| Part Type | Avg Cycles Before Failure | Replaceable In-Flight? | Cost Tier |
|---|---|---|---|
| Heat Sink | 250 | Yes | Low |
| Coolant Loop | 400 | No | Medium |
| Interface Plate | 300 | Yes | Low |
| Control Module | 1200 | No | High |
| Reactor Core | 5000+ | No | Very High |
Installation Strategy: Where to Place Your Fusion Reactor
Placement matters almost as much as brand choice, because a poorly sited reactor will punish you through heat bleed, vibration, and crew morale penalties. Most Ostranauts fusion reactor parts guides treat installation as an afterthought, but the order in which you assemble the build changes the final result.
Hull Slot Considerations
Each ship class has a finite number of reactor-compatible slots, and you cannot bolt a heavy core into a light hull no matter how much you want to. Light haulers usually have one slot and no room for a parallel upgrade, while medium derelict-recovery hulls can fit two cores wired in parallel for redundancy. Parallel wiring is more expensive but lets you limp home on one core if the other takes damage from a collision or a debris strike mid-salvage. Crew habitability also plays a quiet role: a noisy reactor next to the crew quarters tanks morale, which feeds back into slower repair times when something does eventually fail.
First-Time Builder Checklist
For captains assembling their first Ostranauts fusion reactor parts loadout, the order of operations matters more than the budget ceiling. Buy the core last so you know exactly how much you have left for support parts, because overspending on a premium core and skimping on heat sinks is the classic rookie mistake. Match the coolant loop brand to the core brand when possible, because some manufacturers tune their control modules to read specific sensor outputs from their own hardware. Always carry a spare heat sink in the cargo bay, because losing thermal headroom in the middle of a salvage op usually ends the run and forces an expensive tow. New pilots who have not yet learned the basics of shipbuilding should review the Ostranauts beginner guide before locking in their first build.
Frequently Asked Questions
What brand of fusion reactor should a new Ostranauts pilot buy first?
Start with Horang if your budget is tight, but plan to swap to Gott or Bingham within the first month of play. Horang cores deliver acceptable output for starter hulls and teach you the heat-management basics, while Gott and Bingham offer noticeably better efficiency once you have earned enough K-Leg credits to upgrade.
Can I install multiple Ostranauts fusion reactor parts on the same ship?
Yes, most medium and large hulls support two reactor slots wired in parallel for redundancy. Parallel configurations let one core compensate when the other throttles under load, but they also roughly double your maintenance costs and require two control modules to operate cleanly without fighting each other.
How often should I replace the coolant loop in Ostranauts?
Replace the coolant loop every 300 to 400 cycles depending on how aggressively you run your reactor. Pilots who keep their cores pinned in the green zone can stretch that window toward 450, while crews who frequently push into amber will burn through a loop in closer to 250 cycles. The Ostranauts community wiki tracks the wear numbers reported by the player base, so it is worth checking there after each major patch.
Do higher-tier reactor brands reduce fuel consumption in Ostranauts?
Yes, because more efficient cores extract more useful energy per kilogram of fusion fuel. A Bingham core can stretch a tank by roughly 15 to 20% compared to a stock Horang, which adds up significantly on long transits between stations. Weber's higher output comes at the cost of greater fuel draw, so it only pays off on short-haul industrial work where you cycle the core on and off frequently.
What happens if my reactor core enters the red zone in Ostranauts?
The core automatically shuts down to prevent catastrophic plasma failure, which means your ship loses all non-battery power until you manually reset the control module. If you are under thrust when this happens, you will start drifting immediately, so most veterans recommend keeping a charged battery bank dedicated to emergency steering and life support. New pilots who have not yet built that habit should bookmark the Ostranauts getting started walkthrough before their next long run.
Got a reactor brand or layout question that did not get covered above? Drop it in the comments and we will fold the answer into the next patch of this guide.